Do You Want To Build A Castle?

Recently I was contacted by Lakeshore Learning to review one of their new products for 2015. When I get opportunities like this I try to pick items that will a) appeal to my kiddos (of course!) and b) meet a need we have in our classroom. The need that I saw in our room was a lack of variety in our Block Center. Sure we have hard wood blocks & people, vehicles and signs, but we only had that one type of block. And, honestly, I wasn't happy that it was a boy-dominated center - meaning my little girls hardly ever went there. Sure they got some building play in at our Lego Center and with our Pipe Builders (best purchase EVER!), but that's not the same as block play.

So when I saw the Castle Blocks, I fell in love:
http://www.lakeshorelearning.com/product/productDet.jsp?productItemID=1%2C689%2C949%2C371%2C929%2C616&ASSORTMENT%3C%3East_id=1408474395181113&bmUID=1423542200921
I knew my little girls would be drawn to them - who wouldn't be?! They're vibrant & colorful, and the images almost seem to pop off the bricks!

http://www.lakeshorelearning.com/product/productDet.jsp?productItemID=1%2C689%2C949%2C371%2C929%2C616&ASSORTMENT%3C%3East_id=1408474395181113&bmUID=1423542200921
The blocks are printed on all sides, so there's no back or front to worry about - our castles look fabulous from any side! There are several different shapes, from bridges to cylinders, cubes, pyramids and the blue tower pieces. These were great for reviewing our 3d shapes!

The back of the box has some building suggestions for different size castles, which might be nice for children who are intimidated by having to create, but generally my kiddos preferred to create their own castles. We did keep the box to store the blocks - they fit back in easily (oh miracle!) and the box is sturdy enough that it should last us a good while. All 60 blocks can be cleaned up and put neatly in the box in less than 3 minutes by my kiddos!

The best thing about the blocks is that it takes very few to make a convincing castle,
So for those kiddos who aren't ready to collaborate, they can happily build with a few pieces while the rest of the group builds a larger structure.

Now, you can't see it in these pictures, but the girls' attendance rate at Block Center went way up. In fact, girls had a hand in creating every castle pictured! That's something to cheer for right?!
 Every castle is unique & gorgeous!

Symmetry is a natural product of building with these blocks!


My favorite part is asking the kids who lives in their castles. One kiddo retold the story of  Beauty & the Beast, while another child's castle was occupied by Flynn Rider & Rapunzel!

Other stories included a family vacation at a haunted castle, a fairy godmother's house and even
the home of a good knight who fights the monster under the bridge! Oh and the castle where the king lives from Humpty Dumpty - loved that!

The castle doors are open, please come inside!

We've been using these blocks nonstop for a few weeks now, and they still look like new - that paint is on there to stay! Honestly, I haven't found a single flaw with these (but I would love some little wooden people to go with - we started putting some Lego people in the Castles and the imaginative play was awesome!) 

If you've fallen in love with these Castle Blocks like I have, click here for a 20% Off  Coupon for anything at Lakeshore Learning!

Disclaimer: I was provided the product free of charge for an impartial review. The opinions expressed are based on my own experience with using the product in my classroom.

Number Sense & Phonics Fun!

Time is flying! Do you know we only have 67 days of school left this year?! That means I am ramping it up and trying to sneak every bit of learning I can into our days!

This week our dry erase boards came in super handy! I am lucky enough to have a class set and I'm so grateful because I don't know what I'd do without them! Of course we use dry erase markers to write our numbers and letters on the front, but check out what you can do with the back!
This group of 4 kiddos went to our Letter Center. The independent activities there are magnetic letters and baking sheets and our PlayMais letter mats. I also sometimes bring out another activity (like last week's penguin in the snow) depending on who is at the center. This group was perfect for my latest idea - two high-flyers and two of my strugglers. I knew having the high flyers there would help support and engage my strugglers so I grabbed our dry erase boards, a can of shaving cream and my
Penguin Alphabet Match-Up Cards.
Each board got one squirt of shaving cream on the back. I used the back so that the letter we wrote would show up better than on the white surface of the front of the board. I showed the group the picture card first so they could identify it and determine the beginning sound. Then they guessed which letter made the sound and wrote it on their board - then I produced the letter card and we saw if they had gotten it correct!
My high flyers were great at the game, but not so great that it made the other two feel inadequate. There were plenty of letters that my strugglers knew how to write, so they weren't discouraged.
Once they had written the letter we thought of other words that started with the letter, to reinforce the sound. We got through the whole alphabet (randomly of course!) in one session and having friends at the center, plus the fun of writing in shaving cream kept their attention for the whole time! Once we cleaned up and the kiddos got to pick a new center I had kids clamoring for their turn at Letter Center, so that engagement just kept going! (In the morning we do 2 center sessions, cleaning up in between. In the afternoon we have one session)

The fun with the boards and shaving cream didn't stop there! I've also been working with one sweetie on number sense and one-to-one correspondence. She's almost got it, so I try to give her targeted one-on-one practice several times a day - even if only for 5-10 minutes at a time.

One day when she chose to go to Math Center, I grabbed a board, the shaving cream and some polar bear erasers that we used for counters. I told her a number and she would have to pick that many bears out of the bucket and then write the number. She tends to count faster than her little fingers move, so I had her spread the bears apart to reinforce that each one only got one number and touch.

When I stopped by Playdough Center one day, I quickly commandeered her playdough to make some spheres (sounds so much better than balls, right?). Then she had to count them and stamp the number using our Lakeshore Dough Stampers. We played for a few minutes and then I moved on to someone else, having gotten in some quick quality practice that she loved.

Our goal is to count to 20 by the end of the year, and 95% of my class is already surpassing that. This little sweetie is getting there, but she tumbles some of her teen numbers together, so its hit or miss if she gets them in the right order (thus why mom says she can count to 20 at home - sure she might be able to do it once, but consistency is the goal!). That's why I brought out my Winter Ten Frames Pack!
I used numbers 11-20 with her since she has 1-10 down pat. We put the cards in order, and then she counted the fish on each ten frame card, giving her more 1-1 correspondence practice! Once she determined the number of fish she looked for the number card and if she couldn't identify it, she started at the top row, counting from 11, until she found the correct number. Again, a simple, low prep activity that took only about 10 minutes and yet was great targeted practice for her! Once we finished with the ten frames, she was free to choose an independent activity at Math Center and I was able to go give someone else some one-on-one attention!

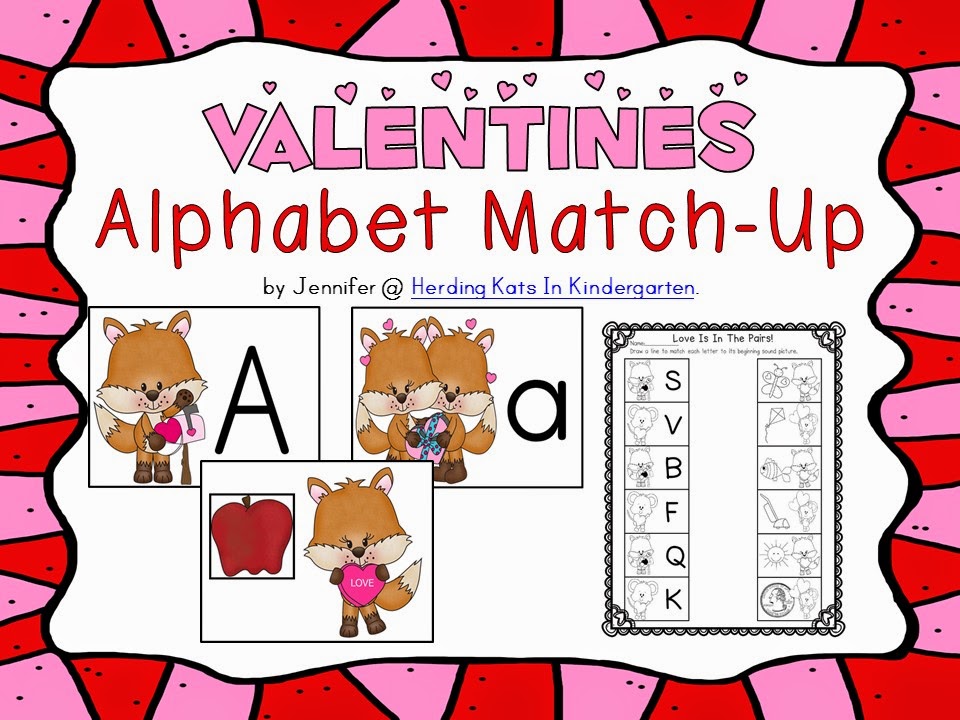
Since our Penguin Alphabet Match-ups were such a hit, I created a Valentine's Day edition too! You can grab them for 20% off here! In fact, all of my Valentine's Day items are 20% off to help you prepare for this week! Just click the picture to go check them out in my TPT store!

https://www.teacherspayteachers.com/Product/FebruaryMarch-Ten-Frames-Unit-Valentines-Presidents-St-Patricks-Day-511124

https://www.teacherspayteachers.com/Product/Valentines-Day-Alphabet-Match-Up-1696881

https://www.teacherspayteachers.com/Product/We-Love-to-Measure-A-Valentine-Themed-Common-Core-Aligned-Measurement-Pack-523090

Have a great week!

100th Day in Pre-K!

On Monday we had our 100th Day of School celebration! Interestingly enough, the two kindergarten classes celebrated their 100th Days on different days last week. Somehow, no one could agree on how many days we have actually been in school!

Since it was also Groundhog Day, we started the day out by reading Let's Celebrate Groundhog Day which is a great nonfiction book for pre-k to 1st grade kiddos.

We made our predictions using my free Groundhog Day Class Prediction Graph pack. My pessimistic kiddos were spot on about their predictions with 2/3s of the class predicting more winter!


Once we had that out of the way it was time for some 100th day fun in the form of 3 new centers:

First up we had Q-tip painting!
The object was to put 10 dots of paint in each square to equal 100 dots. This was a great way for me to assess who still needs practice in making sets and who breezed thru the activity with zero help! The sheet is from Mrs Payton's FREE 100th Day Hooray pack. The kids love anything with paint, and the Q-tips made it that much more engaging!

Our other new center was building with 100 sugar cubes. I'm proud to say that no one was caught nibbling! The kiddos started out with very conservative building ideas, but with experience they were soon astonishing me with their creations!
During our morning center time, the kiddos experimented with basic wall designs.


By the end of our afternoon centers, they had progressed to more complex structures!
One of my 4 year olds built this wonder of symmetry and balance!

Our 3rd special center activity was building with 100 Solo cups. I bought the small size to fit my kiddos' little hands easier.
At first, this little sweetie's focus was on how many cups is in 100, so she tried spreading them on the ground around her.
Soon though, the kiddos were experimenting with various structures.
I loved this little guy's idea to stack the mouths of the cups together.
This smarty got the award for perseverance! His tower was knocked down no less than 3 times by careless classmates, but instead of getting upset he calmly started over each time. He couldn't reach the top layers and had to stand on a chair to place the final 3 cups!

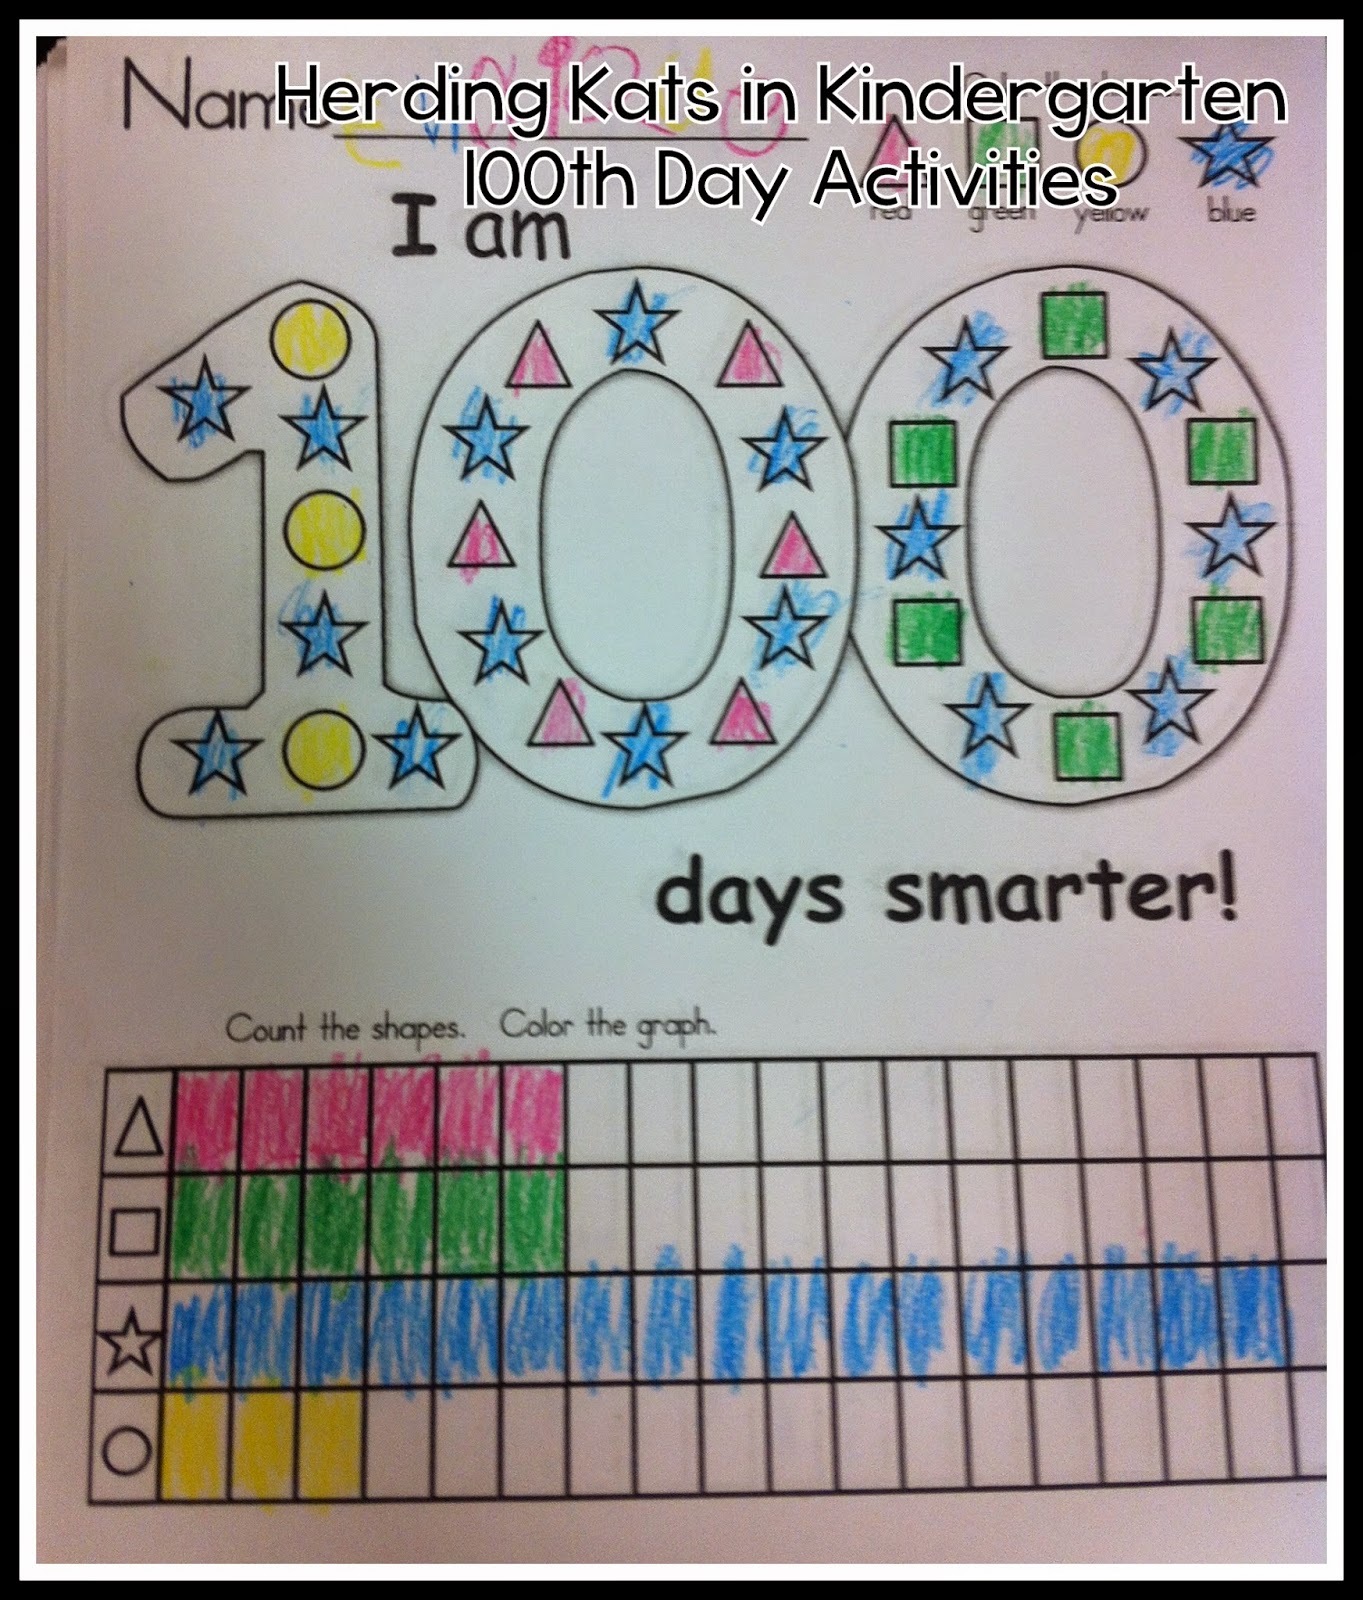
During Math time each kiddo brought 4 crayons to the carpet and we completed this freebie from Fun Classroom Creations together as a whole group. It was a great way to see who had enough mental stamina to follow along for the whole activity, and who had difficulty transcribing what they saw me doing onto their own paper.


The culmination of our day was creating 100th Day hats and eating ice cream! (also from Mrs Payton's FREE 100th Day Hooray pack)


There you have it - simple, fun 100th Day ideas that weren't expensive and required little prep! Those are the best type of celebrations, don't you think?

Popular Posts